
-
 Español
-
 Portugues
-
 Pусский
-
 Français
-
 Deutsch
-
 日本語
日本語
-
 한국어
한국어
-
 العربية
-
 Italiano
-
 Nederlands
-
 Ελληνικά
-
 Svenska
-
 Polski
-
 ไทย
ไทย
-
 Türk dili
-
 हिन्दी
-
 Indonesia
-
 Melayu
-
 Tiếng Việt
-
 中文
中文
-
 dansk
dansk
-
 Magyar
-
 қазақ
қазақ
-
 বাংলা
বাংলা
-
 עִברִית
-
 čeština
-
 Soomaali
-
 မြန်မာ
-
 فارسی
فارسی
-
 українська
-
 norsk
norsk
-
 Gaeilge
-
 беларускі
-
 Română
-
 ພາສາລາວ
-
 Filipino
-
 lietuvių
-
 Cymraeg
-
 македонски
-
 Suomalainen
-
 slovenský
-
 o'zbek
-
 اردو
اردو
-
 հայերեն
-
 Igbo
Igbo
-
 български
-
 سنڌي
سنڌي
-
 Shona
Shona
-
 සිංහල
සිංහල
-
 Hrvatski
-
 íslenskur
-
 galego
-
 català
-
 Zulu South Africa
-
 Afrikaans isiXhosa
-
 ಕನ್ನಡ
ಕನ್ನಡ
-
 lëtzebuergesch
-
 Indonésia Sunda
-
 basa jawa
-
 ગુજરાતી
-
 Кыргызча
-
 тоҷикӣ
-
 Србија
-
 Twi
Twi
-
 Hawaii
-
 Cebu
Cebu
-
 नेपाल
नेपाल
-
 euskara
-
 Kurdî
Kurdî
-
 frissi
-
 יידיש
יידיש
-
 latvija
-
 slovenija
-
 kiswahili
-
 ਪੰਜਾਬ
ਪੰਜਾਬ
-
 پښتو
پښتو
-
 საქართველოს
-
 hua moni
-
 bosna
bosna
-
 తెలుగు
-
 தமிழ்
தமிழ்
-
 Kreyòl ayisyen
-
 Eesti
Eesti
-
 Corsica
-
 Yoruba
-
 Gàidhlig na h-Alba
-
 Samoa
Samoa
-
 Монгол
-
 Hausa
Hausa
-
 Azərbaycan
-
 አማራ
አማራ
-
 Shqipëria
-
 Malagasy
-
 मराठी
मराठी
-
 മലയാളം
-
 Malta
Malta
-
 ខ្មែរ
ខ្មែរ
-
 Chicheva
-
 中文(繁体)
-
 ଓଡିଆ
ଓଡିଆ
-
 Setswana
-
 Afrikaans
-
 Aymara
-
 Башҡорт
-
 Türkmenler
-
 ትግሪኛ
ትግሪኛ
-
 Afaan Oromoo
-
 অসমীয়া
-
 Kinyarwanda
-
 Ilocano
-
 Wolof
Wolof
-
 अवधी
अवधी
-
 Oluganda
-
 Bikol
Bikol
-
 Fulɓe
Fulɓe
-
 Kikongo
-
 Sango
Sango
-
 ދިވެހި
-
 Lingala
-
 मैथिली
-
 Tsonga
-
 ꯃꯦꯏ ꯊꯥꯏ꯫
-
 brezhoneg
-
 Furlan
-
 नेवा
नेवा
-
 རྫོང་ཁ
-
 Santali
-
 Аҧсуа
Аҧсуа
-
 Нохчийн
-
 Чӑваш
Чӑваш
-
 Татар
Татар
-
 Batak Karo
-
 دری
دری
-
 Diura
Diura
-
 Fengyu
-
 Eʋegbe
-
 Iban
Iban
-
 Fiji
Fiji
-
 Tonga
Tonga
-
 Inuktitut
-
 Nahuatl
-
 maaya yucatec
-
 Runasimi
-
 guarani
-
 Qafar
Qafar
-
 Acholi
-
 Dinka
Dinka
-
 Luo
Luo
-
 Lundi
Lundi
-
 isiNdebele
-
 Tshivenḓa
-
 Sesotho sa Leboa
-
 Sesotho sa Borwa
-
 Ndumbe
-
 Papuan Pidgin
-
 Rromani ćhib
-
 Thok Nath
yuxiatugong@163.com
+86 18353494641
-
 Español
-
 Portugues
-
 Pусский
-
 Français
-
 Deutsch
-
 日本語
日本語
-
 한국어
한국어
-
 العربية
-
 Italiano
-
 Nederlands
-
 Ελληνικά
-
 Svenska
-
 Polski
-
 ไทย
ไทย
-
 Türk dili
-
 हिन्दी
-
 Indonesia
-
 Melayu
-
 Tiếng Việt
-
 中文
中文
-
 dansk
dansk
-
 Magyar
-
 қазақ
қазақ
-
 বাংলা
বাংলা
-
 עִברִית
-
 čeština
-
 Soomaali
-
 မြန်မာ
-
 فارسی
فارسی
-
 українська
-
 norsk
norsk
-
 Gaeilge
-
 беларускі
-
 Română
-
 ພາສາລາວ
-
 Filipino
-
 lietuvių
-
 Cymraeg
-
 македонски
-
 Suomalainen
-
 slovenský
-
 o'zbek
-
 اردو
اردو
-
 հայերեն
-
 Igbo
Igbo
-
 български
-
 سنڌي
سنڌي
-
 Shona
Shona
-
 සිංහල
සිංහල
-
 Hrvatski
-
 íslenskur
-
 galego
-
 català
-
 Zulu South Africa
-
 Afrikaans isiXhosa
-
 ಕನ್ನಡ
ಕನ್ನಡ
-
 lëtzebuergesch
-
 Indonésia Sunda
-
 basa jawa
-
 ગુજરાતી
-
 Кыргызча
-
 тоҷикӣ
-
 Србија
-
 Twi
Twi
-
 Hawaii
-
 Cebu
Cebu
-
 नेपाल
नेपाल
-
 euskara
-
 Kurdî
Kurdî
-
 frissi
-
 יידיש
יידיש
-
 latvija
-
 slovenija
-
 kiswahili
-
 ਪੰਜਾਬ
ਪੰਜਾਬ
-
 پښتو
پښتو
-
 საქართველოს
-
 hua moni
-
 bosna
bosna
-
 తెలుగు
-
 தமிழ்
தமிழ்
-
 Kreyòl ayisyen
-
 Eesti
Eesti
-
 Corsica
-
 Yoruba
-
 Gàidhlig na h-Alba
-
 Samoa
Samoa
-
 Монгол
-
 Hausa
Hausa
-
 Azərbaycan
-
 አማራ
አማራ
-
 Shqipëria
-
 Malagasy
-
 मराठी
मराठी
-
 മലയാളം
-
 Malta
Malta
-
 ខ្មែរ
ខ្មែរ
-
 Chicheva
-
 中文(繁体)
-
 ଓଡିଆ
ଓଡିଆ
-
 Setswana
-
 Afrikaans
-
 Aymara
-
 Башҡорт
-
 Türkmenler
-
 ትግሪኛ
ትግሪኛ
-
 Afaan Oromoo
-
 অসমীয়া
-
 Kinyarwanda
-
 Ilocano
-
 Wolof
Wolof
-
 अवधी
अवधी
-
 Oluganda
-
 Bikol
Bikol
-
 Fulɓe
Fulɓe
-
 Kikongo
-
 Sango
Sango
-
 ދިވެހި
-
 Lingala
-
 मैथिली
-
 Tsonga
-
 ꯃꯦꯏ ꯊꯥꯏ꯫
-
 brezhoneg
-
 Furlan
-
 नेवा
नेवा
-
 རྫོང་ཁ
-
 Santali
-
 Аҧсуа
Аҧсуа
-
 Нохчийн
-
 Чӑваш
Чӑваш
-
 Татар
Татар
-
 Batak Karo
-
 دری
دری
-
 Diura
Diura
-
 Fengyu
-
 Eʋegbe
-
 Iban
Iban
-
 Fiji
Fiji
-
 Tonga
Tonga
-
 Inuktitut
-
 Nahuatl
-
 maaya yucatec
-
 Runasimi
-
 guarani
-
 Qafar
Qafar
-
 Acholi
-
 Dinka
Dinka
-
 Luo
Luo
-
 Lundi
Lundi
-
 isiNdebele
-
 Tshivenḓa
-
 Sesotho sa Leboa
-
 Sesotho sa Borwa
-
 Ndumbe
-
 Papuan Pidgin
-
 Rromani ćhib
-
 Thok Nath

News Center
News Center
HOT PRODUCT
Geotextile Installation Step-by-Step Guide
2025-09-18 09:11:14
Geotextile Installation Step-by-Step Guide
[Feature Report] – This practical guide outlines a clear, field-tested sequence for installing geotextile (woven or nonwoven) in civil, environmental, and hydraulic works. It covers pre-construction checks, on-site handling, overlaps and seams, anchoring, protection layers, repairs, and quality control to help teams deliver durable, compliant installations.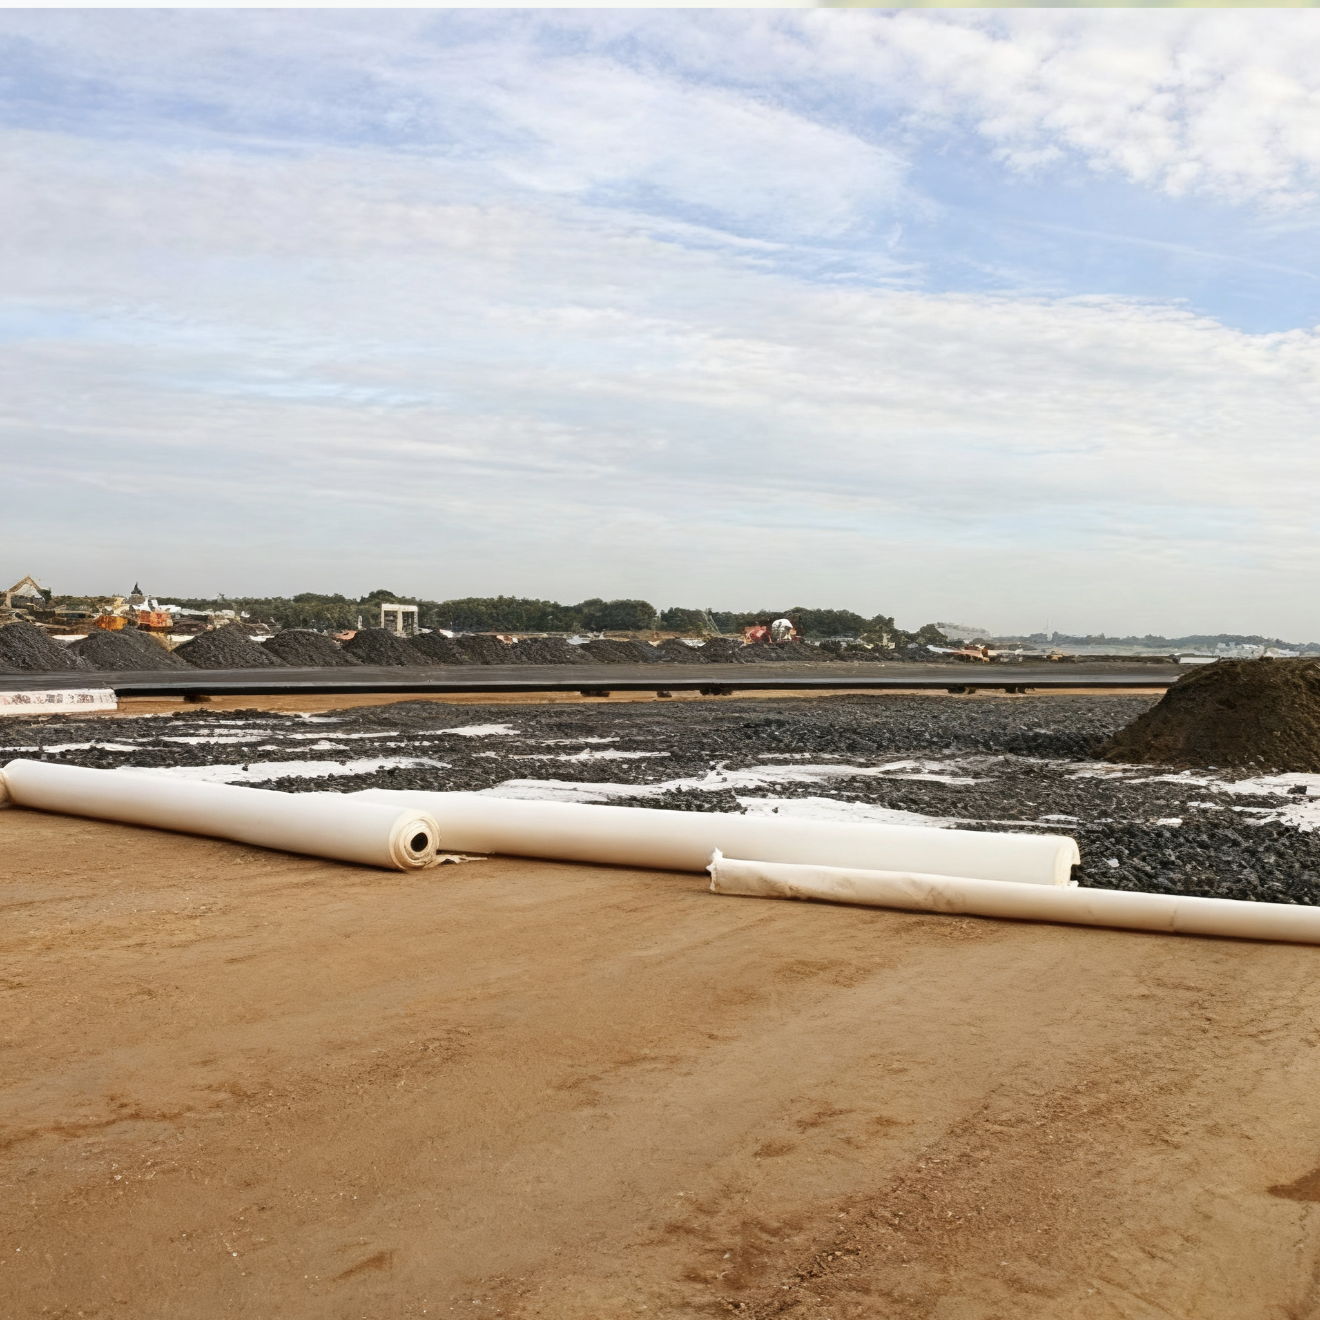
Pre-Construction Checklist
• Review drawings, specs, design intent, and panel layout plans.
• Verify geotextile type, mass per unit area, strength, and permeability against project specifications.
• Assess subgrade: remove roots, debris, sharp objects; grade and compact; shape slopes and transitions.
• Define anchor trench locations and dimensions along crests, toes, and terminations.
• Confirm weather window (low wind, no heavy rain forecast) and site access.
• Prepare equipment and PPE: knives, rollers, sandbags, pins/pegs, sewing kit, safety gear.
Tools & Materials
• Geotextile rolls (specified width/length), roll tags intact for traceability.
• Temporary ballasting (sandbags) and anchoring pins/pegs or staples.
• Sewing machine/kit with UV-resistant thread (polyester/polypropylene) if seams are specified.
• Measuring tape, markers, chalk line for panel alignment and overlap checks.
• Cutting tools with spare blades; repair patches of matching geotextile.
• Low-ground-pressure equipment for cover placement; hand rollers for smoothing.
Installation Steps
Step 1 – Site Preparation
• Clear and proof-roll the subgrade; remove protrusions and soft spots; recompact as needed.
• Shape slopes and benches to design grades; construct anchor trenches where required.
Step 2 – Unloading, Storage, and Handling
• Store rolls on pallets in a dry area; protect from mud, standing water, and prolonged UV exposure.
• Lift rolls with spreader bars or core slings; avoid dragging to prevent damage.
Step 3 – Trial Layout and Panel Sequencing
• Plan panel orientation to minimize seams across high-stress areas; run rolls downslope where feasible.
• Mark starting lines and reference points; pre-position sandbags for temporary ballasting in windy conditions.
Step 4 – Placement and Unrolling
• Unroll smoothly over the prepared subgrade; avoid wrinkles, bridging, and excessive tension.
• Do not allow equipment traffic directly on exposed geotextile; use boards/mats if access is unavoidable.
Step 5 – Overlaps and Seams
• Typical overlaps: 200–300 mm on flats; 300–450 mm on slopes or where subgrade is uneven.
• Place upslope panel over downslope panel to shed water; align fibers/yarns consistently.
• If sewing is specified: use double-thread lockstitch with UV-resistant thread; maintain uniform stitch density.
• Where specified, use pins/pegs or staples at overlaps per design spacing; avoid creating puncture points in high-stress zones.
Step 6 – Anchoring and Edge Treatment
• Place edges into anchor trenches at crests/toes; backfill and compact per design.
• Use temporary sandbags to control wind uplift until cover material is placed.
Step 7 – Protection and Cover Placement
• Place specified protective layers (e.g., sand, fine aggregate, or soil) uniformly without dropping from excessive heights.
• Maintain minimum cover thickness as per design; avoid equipment turning or braking on thin cover.
• Where geotextile acts as a separator/filter beneath riprap or gravel, place stone carefully to prevent puncture.
Step 8 – Repairs
• Cut a rounded-edge patch of matching geotextile to cover the damaged area by at least 150 mm in all directions.
• Secure by sewing or additional overlap and pinning per project requirements; remove and replace severely damaged panels.
Step 9 – Quality Control and Documentation
• Inspect overlaps, seams, and anchors; verify overlap widths and seam continuity at regular intervals.
• Record roll numbers, panel locations, and installation dates; document any repairs and corrective actions.
• Confirm compliance with specified strength, permeability, and survivability criteria via submittals and field checks.
Step 10 – Handover and Post-Install Care
• Before acceptance, walk the area for wrinkles, exposure, or damage; repair as needed.
• Schedule post-rain inspections on slopes and transitions; monitor settlement and cover integrity.
Safety and Environmental Notes
• Cease placement under high winds or heavy rainfall; re-secure loose panels immediately.
• Use fall protection on steep slopes; ensure safe access/egress routes for crews.
• Manage waste offcuts responsibly; prevent material from entering waterways or drains.
Common Issues and Quick Fixes
• Wrinkles or bridging: Re-tension panels gently, re-lay from the center outward; add temporary ballast.
• Insufficient overlap: Reposition panels to meet minimums; add a cover strip or sewn seam where specified.
• Surface punctures: Patch with rounded-edge piece; increase care during cover placement.


 Phone
Phone
Comment
(0)